7 Tips for Choosing a Can Shaped Cooler Box
Choosing a Can Shaped Cooler Box looks simple until a hot afternoon exposes its weaknesses. A loose lid, thin insulation, or awkward handle can ruin the experience quickly. The right model should protect chilled drinks, carry comfortably, and fit naturally beside a chair, picnic blanket, or vehicle seat.
Roy Seiders, a respected cooler-industry entrepreneur, once expressed a practical design principle: “Build the cooler you would use yourself.” That idea matters here. A useful Can Shaped Cooler Box should match real habits, not only attractive product photos. Consider its actual capacity, insulation thickness, zipper quality, interior lining, and base stability. A box that holds six cans may feel perfect for a short walk. It may feel inadequate during a full-day outing.
Small details matter.
Think about condensation on a wooden table. Think about sand trapped inside the seams. Think about carrying it with one hand while opening a gate. These moments reveal more than a product description. Durability also deserves honest attention. No cooler stays flawless forever, especially when overloaded or dragged across rough ground. That is easy to overlook.
The following seven tips examine the features that influence daily performance. They cover size, cooling retention, materials, portability, cleaning, appearance, and value. Some choices will depend on personal use. A stylish design is not always the most practical one. A larger model is not automatically better. Careful comparison can prevent an expensive, uncomfortable purchase and help you select a Can Shaped Cooler Box that genuinely fits your routine.
Understand the Purpose and Capacity of a Can Shaped Cooler Box
7 Tips for Choosing a Can Shaped Cooler Box
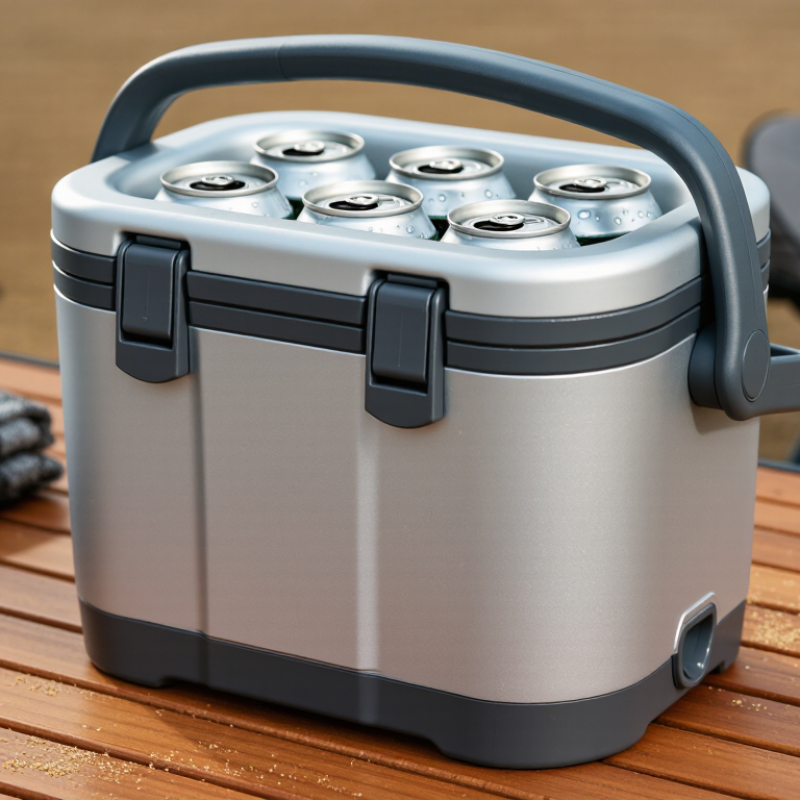
A can shaped cooler box should match its real purpose, not only its appearance. For short commutes, a compact model may hold two or three cans and fit beside a lunch bag. For picnics or outdoor work, choose more space, stronger insulation, and a secure handle. Consider what you carry most often. Cold cans, snacks, ice packs, or all three?
Check the usable capacity carefully. Manufacturers may measure empty internal space, while ice reduces room quickly. Place several standard cans inside before buying, if possible. Leave space for a slim ice pack. Tight packing can improve cooling, but it may make removal frustrating. I once selected a cooler that looked generous, yet its narrow opening wasted usable capacity. That mistake changed my buying checklist.
Material quality also matters. Look for thick insulation, sealed seams, and a lining that wipes clean. A stable base helps prevent spills on grass or a crowded vehicle floor. The zipper should move smoothly without catching fabric. For frequent use, test the handle with a loaded cooler. Read care instructions and avoid assuming every cooler is waterproof. Some protect against splashes only. Cooling performance also depends on pre-chilling the cans, limiting opening time, and keeping the box away from direct sunlight. These details are easy to overlook. They affect real performance more than decorative features.
Compare Insulation Materials and Cooling Performance
7 Tips for Choosing a Can Shaped Cooler Box
Compare insulation materials before judging the shape. ASHRAE Handbook—Fundamentals lists closed-cell polyurethane near 0.020–0.030 W/m·K. Expanded polystyrene usually performs around 0.032–0.038 W/m·K. Lower conductivity generally means slower heat gain. Vacuum insulation panels can approach 0.004–0.008 W/m·K, according to published insulation engineering data. However, damaged panels lose performance quickly. Check the actual construction, not only the material name.
Use seven practical checks: wall thickness, lid sealing, liner quality, condensation control, zipper resistance, usable volume, and test temperature. ASTM D3103 evaluates package thermal insulation performance under controlled conditions. Look for test results showing internal temperature over time. A box holding ice for 24 hours may perform differently in direct sunlight. Small openings also matter. They can create warm spots around cans. A tight gasket helps, but an oversized lid may still leak heat.
Cooling performance depends on more than insulation. Pre-chill the box and its contents. Use enough ice for the empty air space. Keep the cooler shaded. The U.S. Department of Agriculture recommends keeping chilled food at or below 40°F (4°C). Real-world results often fall below laboratory claims. That is worth remembering. My preferred choice would balance polyurethane insulation, a reliable seal, and honest test data, rather than maximum wall thickness alone.
7 Tips for Choosing a Can Shaped Cooler Box - Compare Insulation Materials and Cooling Performance
| Tip | What to Compare | Material or Design Option | Typical Thermal Conductivity
(W/m·K) | Cooling Performance at Equal Thickness | Practical Selection Guidance |
| 1 | Check the insulation material before comparing appearance or capacity. | Polyurethane foam (PU) | 0.020–0.028 | Very good; lower conductivity generally means lower heat transfer. | A strong all-purpose choice when low heat gain and moderate wall thickness are priorities. |
| 2 | Compare insulation thickness as well as material type. | Expanded polystyrene (EPS) | 0.032–0.038 | Good; performance improves substantially as wall thickness increases. | Suitable for lightweight, cost-conscious boxes; look for thick, continuous panels. |
| 3 | Consider durability when the cooler will be carried or compressed frequently. | Expanded polypropylene (EPP) | 0.035–0.045 | Moderate to good; usually needs more thickness than PU for similar insulation. | Choose it when impact resistance, low weight, and repeated use matter more than minimum size. |
| 4 | Evaluate premium insulation only when compact dimensions justify the cost. | Vacuum insulation panel (VIP) | 0.004–0.008 | Excellent in undamaged areas; performance can fall sharply if punctured. | Best for slim, high-performance designs; inspect carefully for panel protection and edge gaps. |
| 5 | Inspect the lid, zipper, and seams because air leakage can defeat good insulation. | Insulated lid with compression seal | Depends on construction | High impact; gaps and repeated opening increase warm-air exchange. | Prefer a close-fitting lid, covered zipper, or flexible gasket with minimal exposed gaps. |
| 6 | Match the internal size to the cans and cooling medium. | Standard beverage-can fit | Not applicable | Efficient fit reduces empty air space and improves contact with cold packs. | Allow for cans approximately 66 mm in diameter and 115–122 mm tall, plus clearance for ice or packs. |
| 7 | Compare cooling claims using the same test conditions. | Controlled cooling-performance test | Not applicable | Most reliable comparison when temperature, starting condition, load, ice quantity, and opening frequency are identical. | Compare heat retention at the same ambient temperature and test duration; advertised cooling hours are not universal. |
Note: Thermal-conductivity values are typical ranges for insulation materials near room temperature. Actual cooling performance also depends on wall thickness, thermal bridges, lid sealing, starting temperature, ice-to-can ratio, ambient temperature, and how often the box is opened.
Balance Features, Size, and Price Before Making a Choice
7 Tips for Choosing a Can Shaped Cooler Box
A can shaped cooler box should match your routine, not only your drink collection. Check insulation first, because thin walls warm quickly under direct sunlight. Tip one: inspect the lining, zipper, seams, and base before judging its appearance. Tip two: choose capacity by actual use. A box for four cans needs less space than one for a family picnic. Leave room for ice. Tip three: measure your storage area, car compartment, or bicycle basket. An attractive cooler is useless if it cannot fit where you need it.
Tip four: compare useful features with their real value. A shoulder strap helps during walking, while a wide opening makes cleaning easier. Tip five: look for a stable base and water-resistant fabric, especially for outdoor trips. These details often matter more than extra pockets. Tip six: compare prices after checking materials and construction. A cheaper box may have weak stitching and poor insulation. However, the most expensive option is not automatically better. I once bought a larger cooler than necessary, and carrying it half-full felt awkward. That mistake changed how I judge size.
Tip seven: consider cleaning and long-term care. Removable liners, smooth seams, and washable surfaces reduce unpleasant odors. Test the handle with a light load before buying, if possible. Read several independent reviews, but treat dramatic claims carefully. Real performance depends on ice quantity, weather, and how often the box opens. A small cooler may suit short errands, while a stronger model earns its cost during longer outdoor use. Assess the balance honestly. Some features sound impressive but remain unused.