
How to Choose a Metal Enamel Pin Badge?
Choosing the right Metal Enamel Pin Badge is more than selecting a bright color or attractive shape. The badge must represent your idea clearly. It should also survive daily handling, shipping, and repeated wear.
I learned this from reviewing custom pin samples for clubs, brands, and event teams. Small details matter. Check the metal thickness, edge smoothness, enamel filling, plating finish, and clutch strength. A thin badge may look economical, but it can bend near the raised border. Soft enamel offers visible texture. Hard enamel creates a flatter, polished surface. Neither option is automatically better.
Metal enamel pin specialist Marcus Lee explains, “A successful pin balances visual character with manufacturing discipline.” That principle is easy to overlook. A beautiful sketch may contain narrow gaps, tiny lettering, or colors that merge after production. Ask whether the supplier provides a digital proof and a physical sample. Reliable manufacturers should explain mold fees, plating choices, minimum quantities, and quality inspection procedures.
Your audience also matters. A collector may prefer precise lines and premium polishing. An event attendee may need a durable backing that stays secure on a jacket. Consider the badge’s purpose before judging its appearance. Packaging deserves attention too. Scratched metal can weaken a strong design.
No checklist is perfect. I have sometimes valued appearance too highly and ignored everyday usability. That mistake is worth remembering. The best Metal Enamel Pin Badge is not merely attractive. It feels intentional, durable, and honest about its production limits.
Understanding Metal Enamel Pin Types and Their Key Differences
How to Choose a Metal Enamel Pin Badge?
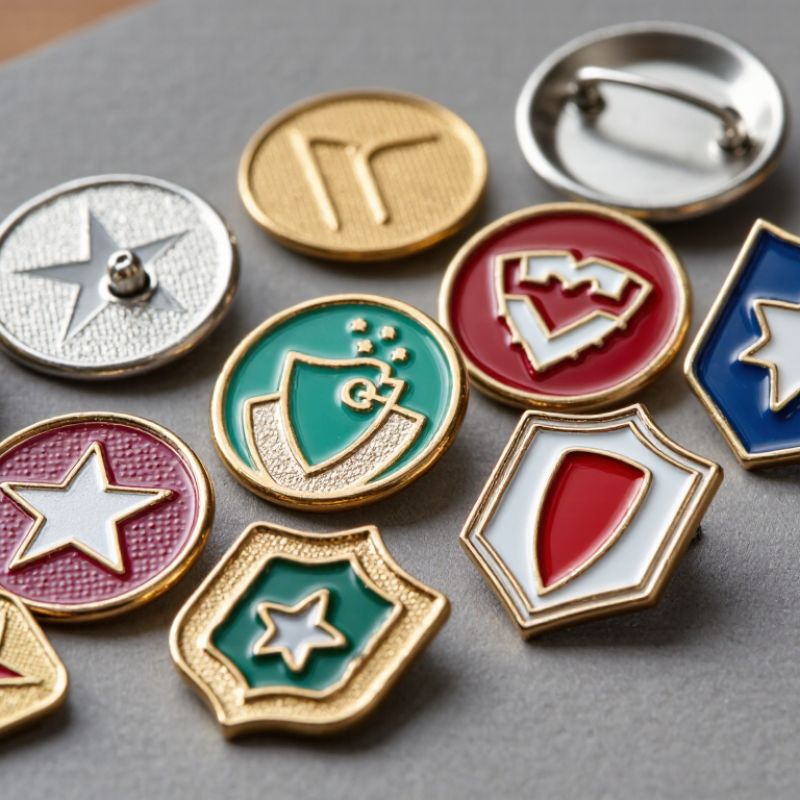
Understanding metal enamel pin types begins with surface, depth, and daily use. Soft enamel has recessed lines and a textured finish. It suits bold artwork and usually costs less. Hard enamel is polished flat, creating a smoother, jewelry-like surface. It handles frequent handling better, but tiny details may lose clarity. Die-struck pins use raised metal without colored enamel. They feel classic, especially with simple symbols or lettering. A mixed design can combine polished metal with selected enamel areas.
The metal also changes the impression. Zinc alloy supports complex shapes and moderate weight. Iron feels solid and works well for larger, economical pieces. Brass gives warmer edges and a refined appearance. Ask for plating samples, not only digital previews. According to ASI’s 2023 Ad Impressions Study, 85% of recipients remembered the advertiser on promotional products. That finding supports careful visibility choices, including contrast, readable lettering, and secure backs. However, recognition data does not guarantee emotional appeal. A technically perfect pin can still feel ordinary.
Tips: Match the finish to the artwork, not fashion alone. Use soft enamel for visible color separation. Choose hard enamel when smoothness matters. Keep lettering above roughly 1.5 millimeters when possible, because very small text may fill during production. I have learned to inspect the edge thickness too. It is easy to overlook, and thin edges can make a badge feel weak. PPAI research also emphasizes usefulness and perceived quality in promotional products, but these measures are not identical to collector satisfaction. Request a physical sample, check the clasp tension, and compare the pin under indoor and natural light.
Defining Your Design, Size, Shape, and Color Requirements
Choosing a metal enamel pin badge starts with a precise design brief.
Define the message, viewing distance, and production quantity before drawing details. In production reviews, a 25–38 mm badge usually balances visibility and comfortable wear. Smaller designs can lose narrow lines, tiny lettering, and facial details. Test the artwork at actual size. It may look perfect on screen, but not on metal.
Shape should support recognition.
A clean silhouette, such as a shield, circle, or custom outline, is easier to manufacture and notice. Avoid fragile spikes and extremely thin connections. They can bend during finishing or daily use. Soft enamel creates recessed texture, while hard enamel gives a smoother, polished surface. Neither is automatically better. The choice depends on touch, budget, and the desired visual character.
Color needs technical discipline. Limit the palette to three or five strong colors, and check contrast in grayscale. Adjacent shades may merge after enamel filling.
A 2023 promotional-products impressions study reported that 85% of recipients remembered the advertised organization, while 63% kept the item for at least one year. That supports readable, durable artwork rather than excessive decoration.
A 2024 industry sales report also identified wearability and perceived usefulness as important purchase considerations, although results vary by market. I still find color matching imperfect. Screen colors, metal plating, and cured enamel rarely appear identical. Request a physical sample before approving the full batch.
Selecting the Right Metal Finish and Enamel Filling
Choosing a metal finish starts with the badge’s setting and handling. Polished gold looks bright under exhibition lighting, while antique gold adds shadow around lettering. Black nickel creates strong contrast, but fingerprints may show more clearly.
The 2025 U.S. Geological Survey Mineral Commodity Summaries estimates 12 million metric tons of zinc mine production in 2024. Zinc alloy remains common in pin manufacturing, but this figure does not guarantee better plating or durability.
Small details matter. Ask for the base metal, plating thickness, and protective coating before approval.
Enamel filling changes both appearance and touch. Hard enamel produces a smooth, glass-like surface and suits clean logos or fine color blocks. Soft enamel leaves recessed lines, giving small graphics a noticeable texture.
For outdoor events, request a corrosion test based on ISO 9227. However, salt-spray results do not perfectly predict daily wear, skin contact, or moisture exposure.
Test before ordering. I sometimes choose polished finishes too quickly because product photos look impressive. A physical sample can reveal harsh reflections, weak color contrast, or lettering that feels too shallow.
Color matching also needs a physical reference, since screen colors can shift. The Global Enamel Pins Market analysis published in 2024 projects continued market growth, but market size alone cannot confirm manufacturing quality.
Review the sample under daylight, warm indoor light, and close viewing distance. Then adjust the metal, enamel depth, and edge thickness together. Not always. A slightly imperfect sample may expose a better design decision.
Evaluating Pin Quality, Backing Options, and Safety Features
How to Choose a Metal Enamel Pin Badge?
A quality metal enamel pin should feel balanced, not hollow or unusually light. I usually inspect the front under bright light before checking the design. The enamel should sit evenly inside each metal line, without bubbles, dents, or sharp overflow. Fine details need clear borders. On the back, look for smooth plating and clean edges. Rough spots can catch fabric or scratch skin. A polished finish looks attractive, but it can hide small manufacturing flaws. I have overlooked that before.
The backing option affects both comfort and security. A rubber clutch suits casual wear and removes easily. A butterfly clutch feels firmer and works well for lighter pins. Locking backs provide stronger support for heavier pieces, but they may be harder to release. Check whether the post is straight and firmly attached. Rounded edges are safer for clothing and fingers. People with sensitive skin should ask about the metal composition and available material documentation. Do not rely only on appearance.
Tips: Test the pin on a spare fabric swatch. Shake it gently for ten seconds. If the backing loosens, reconsider it. Check the clasp with dry hands, because slippery fingers can cause drops. For children, choose a design with secure fasteners and no exposed sharp points. No inspection is perfect, and supplier claims still deserve verification. A small sample order can reveal problems that photographs never show.
Comparing Manufacturers, Costs, Samples, and Production Services
How to Choose a Metal Enamel Pin Badge?
Choosing an enamel pin manufacturer requires more than comparing the lowest quotation. I usually check production photos, material details, plating options, and customer feedback. A reliable supplier explains metal thickness, enamel type, backing choices, and quality inspection clearly. Ask whether the quoted price includes mold fees, color setup, packaging, and shipping. Low prices can hide extra charges later. That mistake is easy to make.
Samples reveal details that digital artwork cannot show. Request a physical sample before approving bulk production. Check the edge smoothness, color accuracy, pin alignment, and clasp strength. Hold it under bright light. Tiny surface flaws may become obvious. I once accepted a sample too quickly, and the final batch showed uneven color near narrow lines. That experience changed my approval process.
Tips: Compare at least three manufacturers using the same design file and quantity. Ask for a written production timeline, sample policy, revision limits, and replacement terms. Confirm how securely the supplier stores your artwork. For complex designs, request a digital proof and a pre-production sample. Production services may include design adjustment, individual packaging, and inspection reports, but these services often increase costs. Consider the badge’s purpose, expected quantity, and required finish before paying for extras. A cheaper sample is not always better. Reliable communication matters, especially when revisions are needed.